How to Fix a Running Toilet
Dealing with a running toilet can be not only a nuisance but also a significant waste of water. When faced with this issue, it's crucial to act promptly to prevent water wastage and potential harm to your plumbing system. In this guide, we'll walk you through the process of diagnosing and fixing a running toilet.
Did you know? A running toilet can waste up to 200 gallons of water per day. That's equivalent to flushing your toilet about 50 extra times! Fixing this issue promptly can save you money on your water bill and help conserve this valuable resource.
Step 1: Identify the Problem
The first step in resolving a running toilet is to identify the root cause. Typically, a running toilet results from either a faulty flapper valve or a malfunctioning fill valve. The flapper valve controls the flow of water from the tank to the bowl, while the fill valve regulates the water level in the tank.
Signs of a Faulty Flapper Valve
- Water continuously running into the bowl
- Toilet runs intermittently without being flushed
- Need to jiggle the handle to stop running
- Visible wear or warping on the flapper
- Mineral buildup on the flapper or valve seat
Signs of a Faulty Fill Valve
- Water level in tank is too high
- Water continuously running into the overflow tube
- Hissing or whistling sounds from the tank
- Inconsistent water level in the tank
- Slow tank refill after flushing
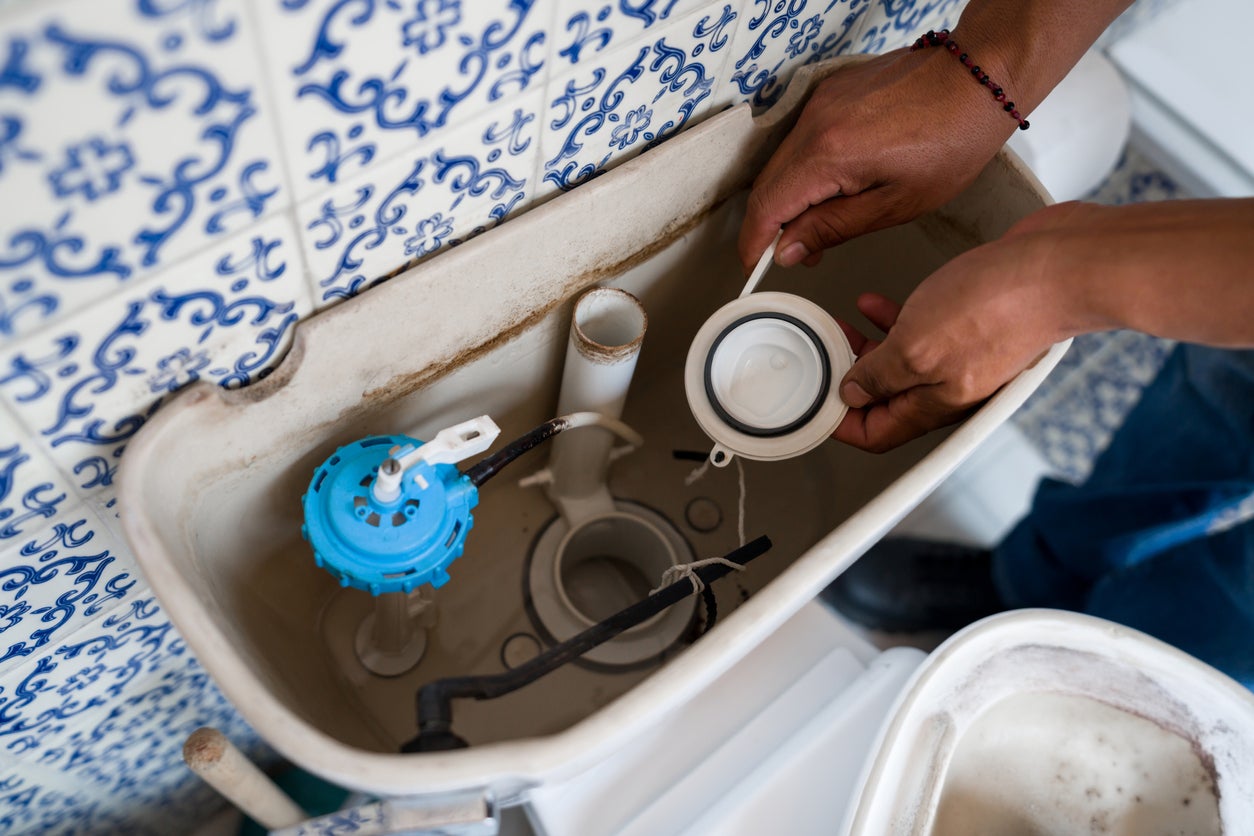
Step 2: Examine the Flapper Valve
Start by lifting the lid of the toilet tank and inspecting the flapper valve. If you notice that the flapper valve appears worn, misshapen, or damaged, it may not be creating an adequate seal, leading to water seepage.
How to Replace a Flapper Valve
- Turn off the water supply to the toilet using the shutoff valve located behind or near the toilet.
- Flush the toilet to drain most of the water from the tank.
- Disconnect the old flapper by detaching it from the flush valve and the chain connected to the flush lever.
- Install the new flapper by attaching it to the flush valve and connecting the chain to the flush lever, ensuring there's a small amount of slack in the chain.
- Turn the water supply back on and let the tank fill.
- Test the flush to ensure the flapper creates a proper seal after flushing.
Pro Tip: When purchasing a replacement flapper, bring your old one to the store to ensure you get the correct size and type. Many modern toilets use specific flapper designs that aren't interchangeable with universal models.
Step 3: Inspect the Fill Valve
If the flapper valve is functioning correctly, the issue may lie with the fill valve. Examine the fill valve for any signs of leakage or a defective float mechanism. Adjust the float to ensure it rests at the recommended water level, following the manufacturer's instructions.
How to Replace a Fill Valve
- Turn off the water supply to the toilet.
- Flush the toilet and sponge out any remaining water in the tank.
- Disconnect the water supply line from the bottom of the fill valve.
- Remove the old fill valve by unscrewing the locknut underneath the tank.
- Install the new fill valve according to the manufacturer's instructions, making sure it's securely fastened.
- Reconnect the water supply line and turn the water back on.
- Adjust the water level using the adjustment screw or clip on the fill valve.
- Test the flush to ensure proper operation.
Step 4: Clean or Replace the Flush Valve Seat
Sometimes, mineral deposits or debris accumulation on the flush valve seat can prevent the flapper from creating a proper seal. To address this, turn off the water supply and flush the toilet to empty the tank. Use a sponge or cloth to thoroughly clean the flush valve seat. If you find that the seat is damaged or worn, it might be necessary to replace it to ensure a proper seal.
Important: Hard water can cause mineral buildup on toilet components, leading to premature wear and failure. If you have hard water, consider using a toilet tank cleaner specifically designed to prevent mineral deposits, or install a whole-house water softener system.
Step 5: Test and Fine-Tune
Once you've made the necessary repairs or replacements, turn the water supply back on and let the tank fill. Observe the toilet for any signs of continuous running or leaks. If the issue persists, it may require further investigation or professional assistance.
Troubleshooting Persistent Issues
- Water level too high: Adjust the float or fill valve to lower the water level below the overflow tube.
- Chain too tight or loose: Adjust the chain connecting the flush lever to the flapper to ensure proper operation.
- Flush handle sticking: Lubricate or replace the flush handle assembly if it's not returning to its proper position.
- Cracked tank or bowl: If you discover cracks in the porcelain, the toilet may need to be replaced entirely.
- Worn out components: Consider a complete toilet rebuild kit if multiple components are showing signs of wear.
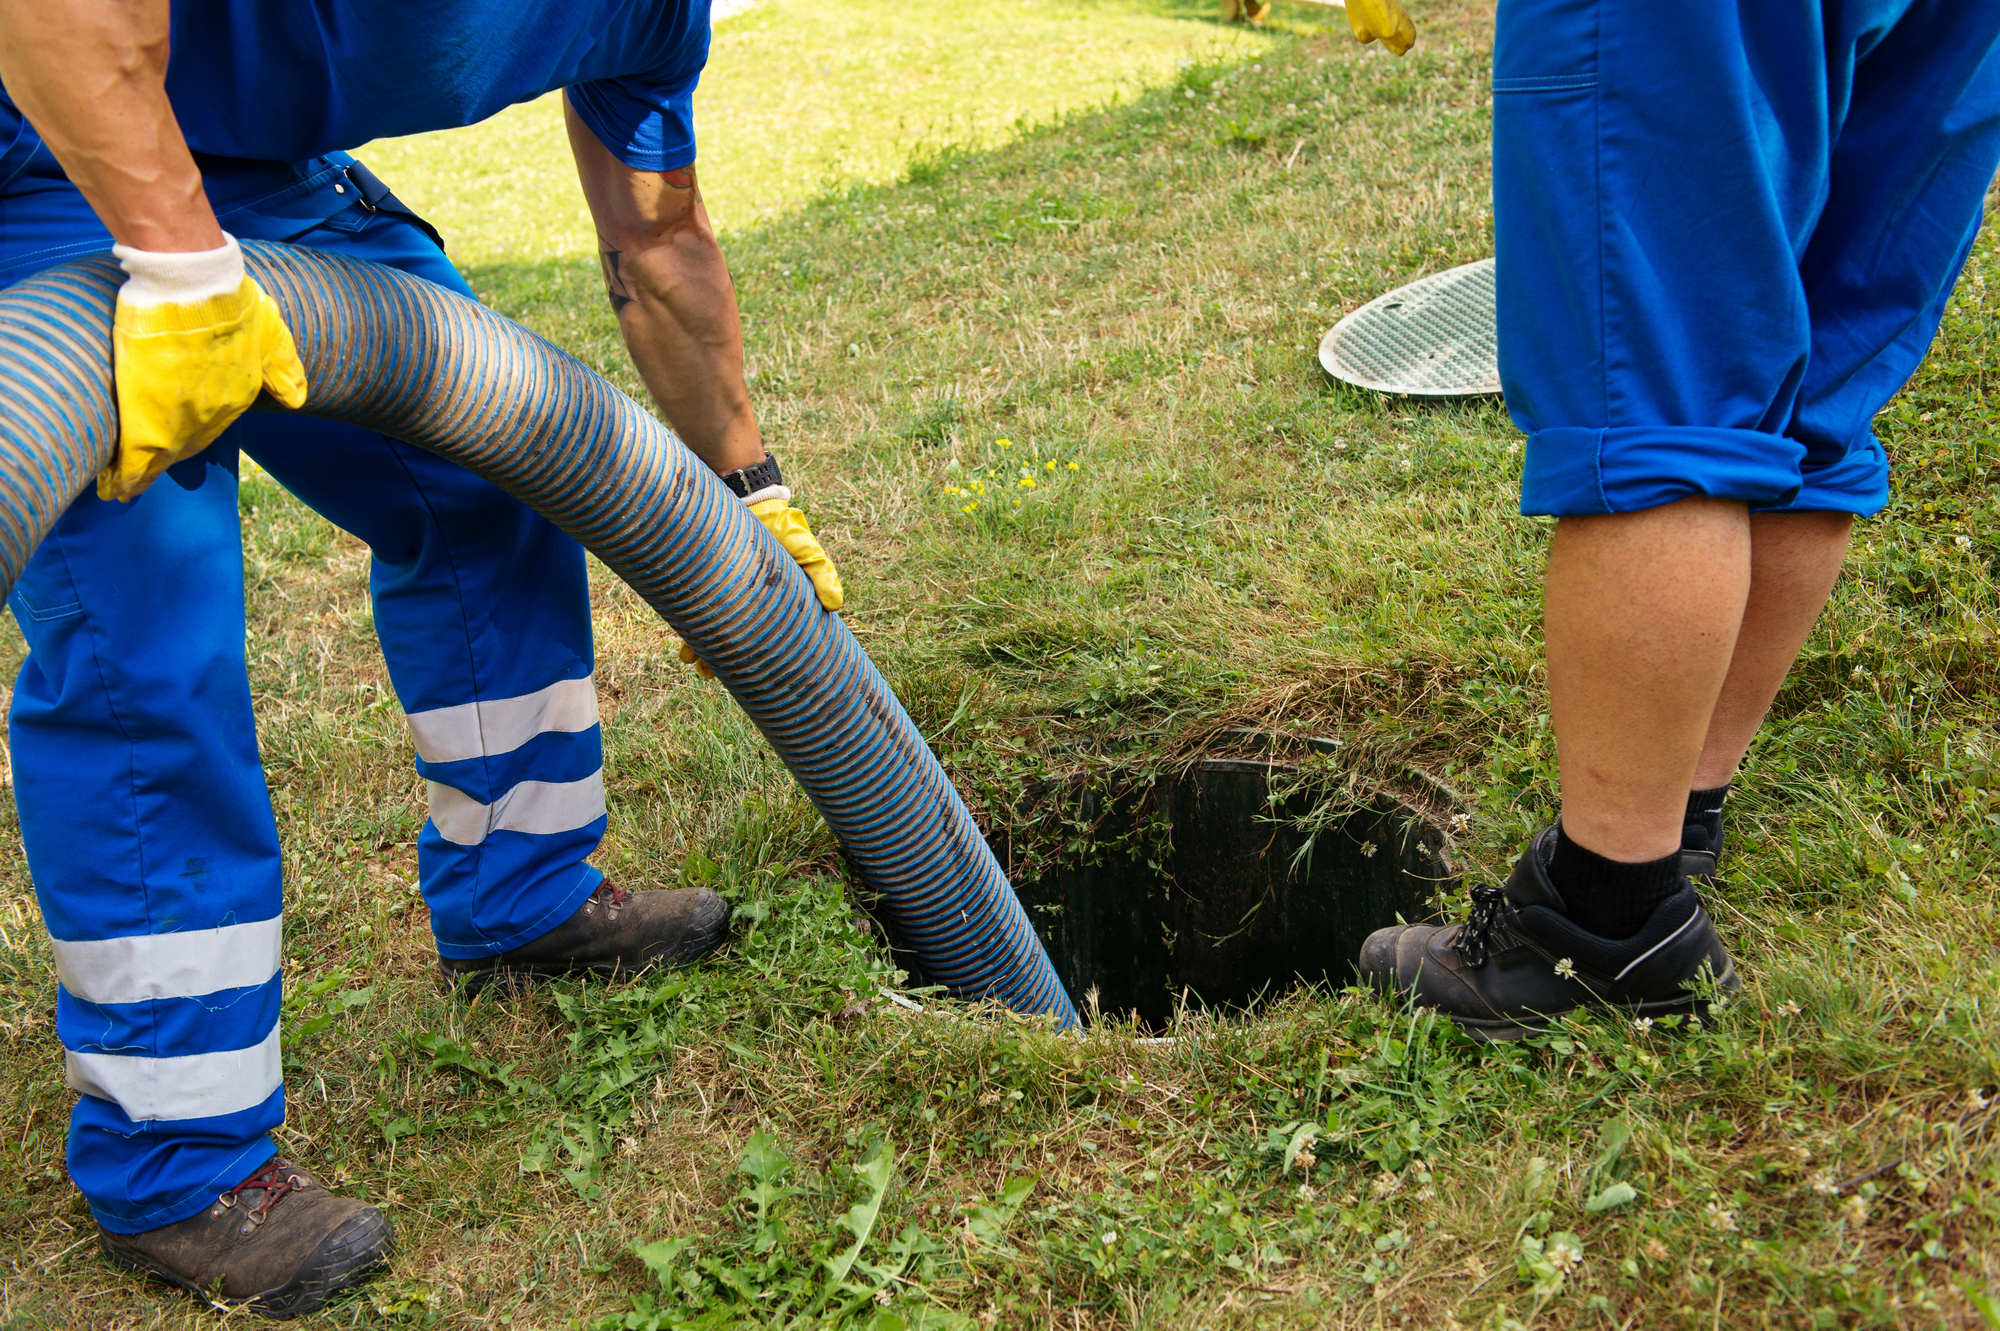
When to Call a Professional
While many toilet issues can be resolved with DIY solutions, some situations call for professional assistance. Consider contacting Plumb-All if:
- Your repairs don't resolve the running toilet issue
- You discover cracks or damage to the toilet tank or bowl
- There are signs of water leakage around the base of the toilet
- You're uncomfortable working with plumbing components
- Your toilet is very old and may benefit from a complete replacement
Fixing a running toilet is a relatively straightforward task that can save you from water wastage and potential plumbing complications. By following the steps outlined in this guide, you can identify and resolve the most common causes of a running toilet. However, if you encounter any challenges or prefer professional assistance, don't hesitate to get in touch with Plumb-All at (770) 914-3877. Our team of experts is ready to assist you in resolving the issue and ensuring the efficient operation of your toilet.
Decided that we're the right fit for you?